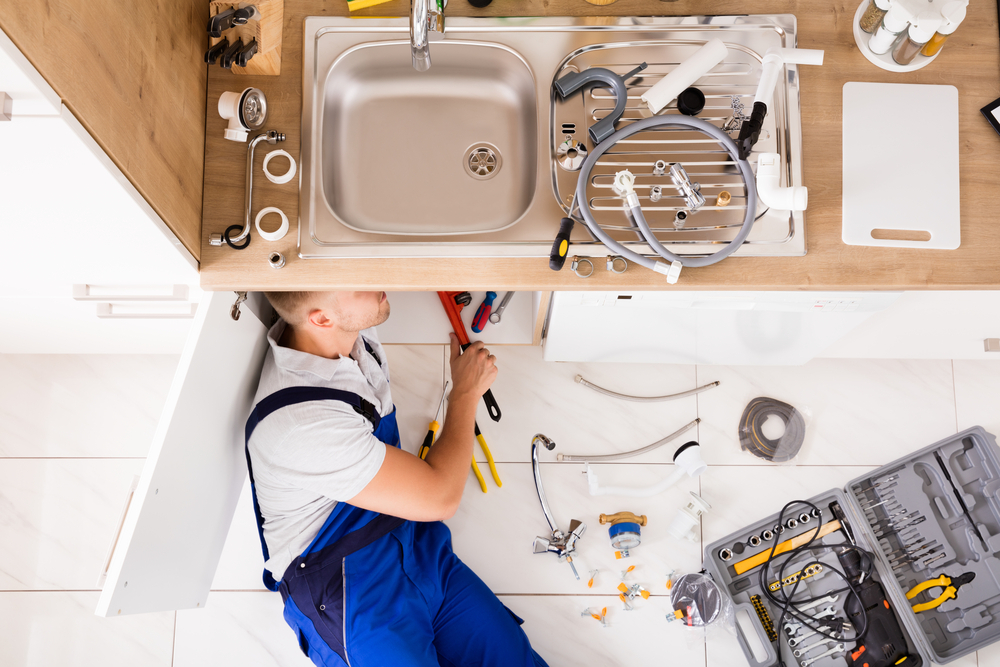
Dealing with Common Plumbing Problems: A Homeowner’s Guide to DIY Fixes
Maintaining a well-functioning plumbing system is not just about convenience; it’s about safeguarding your home from potential water damage and avoiding costly repairs. Your plumbing system is the unsung hero of your household, responsible for delivering clean water and removing waste efficiently. However, like any system, it’s prone to occasional hiccups. In this comprehensive guide, we’ll explore the common plumbing issues that homeowners face and equip you with the knowledge and tools to tackle common pluming problems head-on.
Clogged Drains/Sinks/Shower
Few household inconveniences rival the frustration of a clogged drain. Whether it’s a slow-draining sink, a backed-up shower, or a bathtub refusing to empty, clogs can disrupt your daily routine and create unpleasant odors. The culprits? Hair, soap scum, grease, and food particles that accumulate over time, gradually narrowing the passage for water flow.
To remedy a clogged drain, follow these steps:
- Assess the Severity: Before diving into DIY fixes, assess the severity of the clog. If water is barely draining or not draining at all, it’s likely a severe blockage that may require more than just a plunger.
- Plunge Away: Start with a plunger, the trusty tool in every homeowner’s arsenal. Place the plunger over the drain and ensure a tight seal. Vigorously pump the plunger up and down for about 20 seconds, then quickly pull it away. If the water drains, congratulations! You’ve dislodged the clog.
- Snaking the Drain: If the plunger fails to unclog the drain, it’s time to bring out the heavy artillery – a drain snake or auger. Feed the snake down the drain until you feel resistance, then rotate the handle to break up the clog. Slowly retract the snake, repeating the process as needed until the drain is clear.
- Chemical Drain Cleaners: As a last resort, consider using a chemical drain cleaner. These powerful solutions can dissolve stubborn clogs, but they should be used sparingly and with caution. Follow the manufacturer’s instructions carefully, wear protective gloves and eyewear, and ensure adequate ventilation.
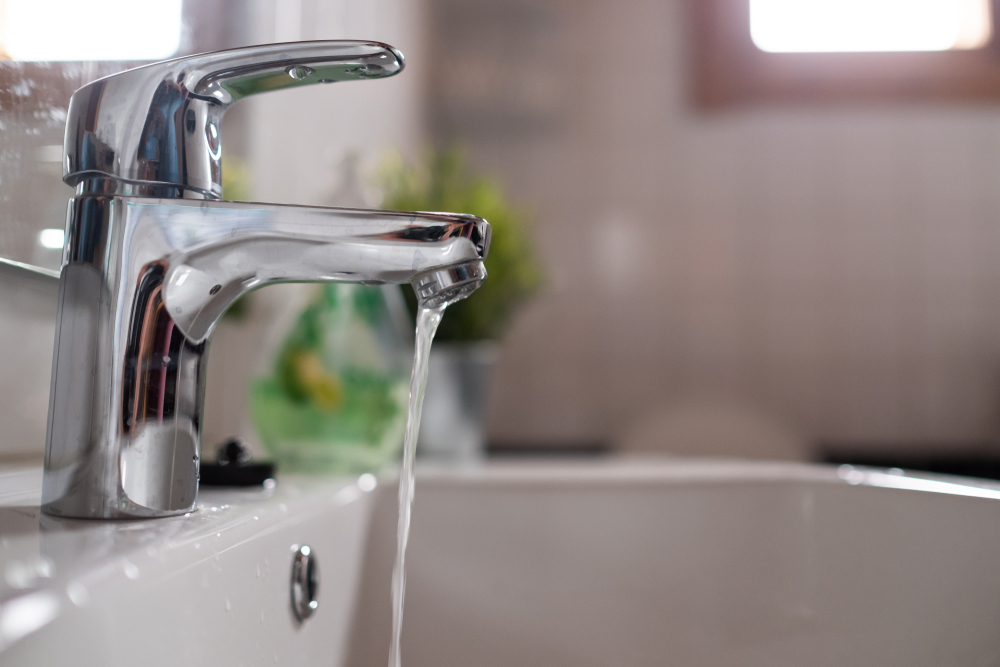
Leaky Faucets/Toilets
The incessant drip of a leaky faucet or the ghostly sound of a running toilet can drive any homeowner to madness. Not only are these leaks annoying, but they also waste precious water and inflate your utility bills. Leaky faucets are often the result of worn-out washers, O-rings, or valve seals, while running toilets typically suffer from faulty flapper valves or fill valves.
To remedy a leaky faucet or toilet, follow these steps:
- Shut Off the Water: Before attempting any repairs, shut off the water supply to the affected fixture. Look for shut-off valves located beneath the sink or behind the toilet. Turn the valves clockwise to shut off the water flow.
- Disassemble the Fixture: Carefully disassemble the faucet or toilet tank to access the internal components. Use a wrench to loosen and remove any nuts or bolts holding them in place. Lay out the parts in the order you remove them to make reassembly easier.
- Inspect and Replace: Inspect the washers, O-rings, flapper valves, and fill valves for signs of damage or wear. Look for cracks, tears, or mineral buildup that may be causing the leak. Replace any faulty components with new ones, ensuring a snug fit.
- Reassemble and Test: Once you’ve replaced the necessary parts, reassemble the faucet or toilet tank in the reverse order of disassembly. Turn the water supply back on and test for leaks. If everything looks good, pat yourself on the back for a job well done!
Low Water Pressure
There’s nothing more frustrating than stepping into the shower only to be greeted by a feeble trickle of water. Low water pressure can turn everyday tasks like washing dishes or watering the lawn into tedious chores. Common causes of low water pressure include mineral buildup in pipes, a malfunctioning pressure regulator, or issues with the municipal water supply.
To remedy low water pressure, follow these steps:
- Check for Leaks: Start by checking for pipe leaks in your plumbing system. Even small leaks can significantly reduce water pressure over time. Look for signs of water damage, such as water stains or mold growth, and repair any leaks you find promptly.
- Clean or Replace Aerators: Mineral deposits can accumulate in aerators on faucets and showerheads, obstructing the flow of water. Remove the aerators and soak them in vinegar to dissolve the mineral buildup. If cleaning doesn’t improve water pressure, consider replacing the aerators with new ones.
- Inspect the Pressure Regulator: If your home is equipped with a pressure regulator, ensure it’s functioning correctly. Pressure regulators help maintain consistent water pressure throughout your plumbing system. If the regulator is faulty or set too low, it can cause low water pressure issues. Adjust or replace the regulator as needed to restore adequate water pressure.
- Contact Your Water Utility: If you’ve ruled out internal plumbing issues, the problem may lie with the municipal water supply. Contact your local water utility to inquire about any ongoing issues with water pressure in your area. Temporary disruptions or maintenance work may be affecting water pressure in your neighborhood.
Running Toilet
A running toilet is not only a nuisance but also a silent water waster. A toilet that runs continuously can waste hundreds of gallons of water per day, leading to inflated water bills and potential water damage. The most common culprits behind a running toilet are a faulty flapper valve or a defective fill valve in the toilet tank.
To remedy a running toilet, follow these steps:
- Remove the Lid: Start by removing the lid from the toilet tank and setting it aside in a safe place. Take a moment to familiarize yourself with the internal components of the toilet tank, including the flapper valve, fill valve, and float.
- Inspect the Flapper Valve: The flapper valve is responsible for sealing the flush valve opening and preventing water from escaping the tank into the bowl. If the flapper valve is worn out or damaged, it may not seal properly, causing the toilet to run continuously. Inspect the flapper valve for signs of wear, tear, or mineral buildup. If necessary, replace the flapper valve with a new one.
- Check the Fill Valve: The fill valve controls the flow of water into the toilet tank after flushing. If the fill valve is defective or set too high, it can cause the tank to overfill and the toilet to run continuously. Adjust the float arm to lower the water level in the tank or replace the fill valve with a new one if needed.
- Test for Leaks: Once you’ve replaced the flapper valve or fill valve, turn the water supply back on and flush the toilet to test for leaks. If the toilet stops running and the tank refills properly, you’ve successfully resolved the issue. If the problem persists, double-check your repairs and consider seeking professional plumber assistance if necessary.
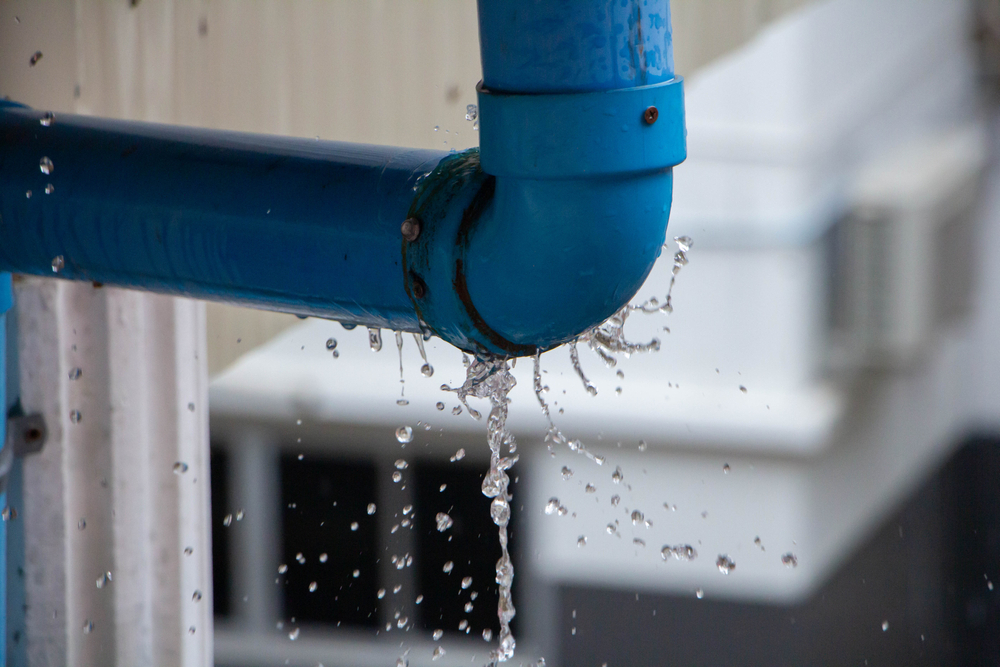
Burst Pipes
Burst pipes are every homeowner’s worst nightmare, capable of causing extensive water damage in a matter of minutes. They’re often the result of freezing temperatures, excessive water pressure, or corrosion. A burst pipe requires immediate attention to prevent flooding and minimize damage to your home.
To remedy a burst pipe, follow these steps:
- Shut Off the Water: The first step in dealing with a burst pipe is to shut off the main water supply to your home. The main shut-off valve is typically located near the water meter or where the main water line enters your home. Turn the valve clockwise to shut off the water flow and prevent further flooding.
- Locate the Burst Pipe: Once the water is shut off, locate the burst pipe and identify the damaged section. Look for signs of water spraying or pooling, as well as any bulges or cracks in the pipe. Use a flashlight to inspect hard-to-reach areas, such as crawl spaces or basements.
- Mark the Damaged Section: Use a marker or tape to mark the damaged section of the pipe for repair or replacement. Measure the length of pipe that needs to be replaced and make a note of the size and material (e.g., copper, PVC) for purchasing replacement pipe.
- Cut Out the Damaged Section: Using a pipe cutter or hacksaw, carefully cut out the damaged portion of the pipe. Make sure to cut straight and clean to ensure a proper seal when installing the replacement pipe. Dispose of the damaged pipe properly, taking care to avoid injury.
- Install a New Section of Pipe: Once the damaged section has been removed, install a new section of pipe in its place. Ensure the new pipe is the correct size and type for your plumbing system, and use appropriate fittings and connectors to secure it in place. Tighten any nuts or bolts firmly to create a watertight seal.
- Test for Leaks: After installing the new section of pipe, turn the water supply back on and inspect the repair for leaks. Check for any signs of water dripping or spraying from the repaired section of pipe. If everything looks good, congratulations – you’ve successfully repaired the burst pipe!
Conclusion
In conclusion, dealing with common plumbing problems doesn’t have to be a daunting task. With a bit of know-how and the right tools, homeowners can tackle many issues themselves, saving time and money in the process. However, it’s essential to address plumbing problems promptly to prevent further damage and costly repairs down the road. Regular maintenance and vigilance are key to keeping your plumbing system in top condition and avoiding unexpected surprises. Remember, for more complex issues or if you’re unsure of your abilities, don’t hesitate to seek professional help. By taking proactive steps to maintain your plumbing system, you can enjoy peace of mind knowing that your home is protected against the unexpected.
Save time and money by learning how to fix common plumbing problems on your own. Keep your home’s plumbing system in top shape and avoid costly repairs. Try out these DIY fixes today and see the difference!
Plumbing Services CA
https://maps.app.goo.gl/31Yt4rhDrainzNJ4A
(279) 203-0765
https://plumbingservicesca.com/