Plumbing Leak Detection and Repair: A Comprehensive Guide
Plumbing leaks can be a homeowner’s nightmare, causing not only frustration but also leading to severe water damage, increased utility bills, and a plethora of other problems. In this comprehensive guide, we will explore the intricacies of leak detection and repair, from identifying leaks to implementing effective repair techniques. Understanding the signs of a leak, utilizing appropriate detection methods, and executing repairs can save you time and money, while protecting your home.
Understanding Plumbing Leaks
A plumbing leak occurs when water escapes from its intended pathway. This can happen in various locations, such as pipes, faucets, toilets, or appliances. Leaks can manifest in several ways, ranging from minor, barely noticeable drips to significant ruptures that result in large volumes of water loss.
Causes of Plumbing Leaks
Understanding the causes of plumbing leaks is essential for effective prevention and repair. Here are some common reasons for plumbing leaks:
- Corrosion: Over time, pipes can corrode due to age or chemical reactions. Factors such as water acidity and the presence of minerals can accelerate this process.
- High Water Pressure: Excessive water pressure can strain pipes and fixtures, leading to leaks. Homes with pressure exceeding 80 psi may face a higher risk of leaks.
- Temperature Changes: Rapid temperature fluctuations can cause pipes to expand and contract, creating stress points that may result in leaks.
- Poor Installation: Improperly installed pipes or fittings can lead to weak connections, increasing the likelihood of leaks over time.
- Tree Roots: Invasive roots from nearby trees can break or penetrate underground pipes, leading to leaks. This is particularly common in older neighborhoods.
The Importance of Timely Detection
Detecting leaks early can save you significant amounts of money and prevent extensive damage. Delayed detection can lead to a myriad of problems, including:
- Mold and Mildew Growth: Moisture accumulation from leaks creates an ideal environment for mold growth, which can pose health risks to occupants.
- Structural Damage to Your Home: Water damage can weaken the foundation, walls, and flooring of your home, leading to costly repairs.
- Increased Water Bills: Even a minor leak can lead to a noticeable spike in your monthly water bill, impacting your budget.
- Damage to Personal Belongings: Water leaks can ruin personal items, including furniture, electronics, and important documents.
Signs of a Plumbing Leak
Recognizing the signs of a plumbing leak is crucial for timely intervention. Here are the most common indicators you should look out for:
- Water Stains: Water stains on walls or ceilings are often the first visible signs of a leak. They can appear as yellow or brown spots, indicating that moisture has infiltrated the area. If you notice such stains, it’s essential to investigate further.
- Increased Water Bills: If your water bill suddenly spikes without explanation, it may indicate a hidden leak. Monitoring your water usage over time can help you identify unusual increases, prompting further investigation.
- Musty Odors: A musty smell in your home could signal mold growth from a hidden leak. If you detect a persistent odor, it’s essential to locate the source, as mold can pose serious health risks.
- Sound of Running Water: If you hear water running when no taps are on, you likely have a leak somewhere in your plumbing system. Pay attention to any unusual sounds, as they can indicate an underlying problem.
- Damp or Wet Areas: Look for damp spots on your floors or walls. These can be telltale signs of a leak. If you notice a particularly wet area, it may require immediate attention.
- Peeling Paint or Wallpaper: If you see peeling or bubbling paint or wallpaper, it may indicate moisture behind the walls. This could be a sign of a leak that needs investigation.
- Swelling or Warping of Wood: Wooden floors, furniture, or cabinets that are swelling or warping can also indicate the presence of excess moisture due to a leak. If you notice these signs, it’s crucial to investigate further.
Leak Detection Techniques
Once you suspect a leak, it’s time to locate it. Here are several effective leak detection methods to consider:
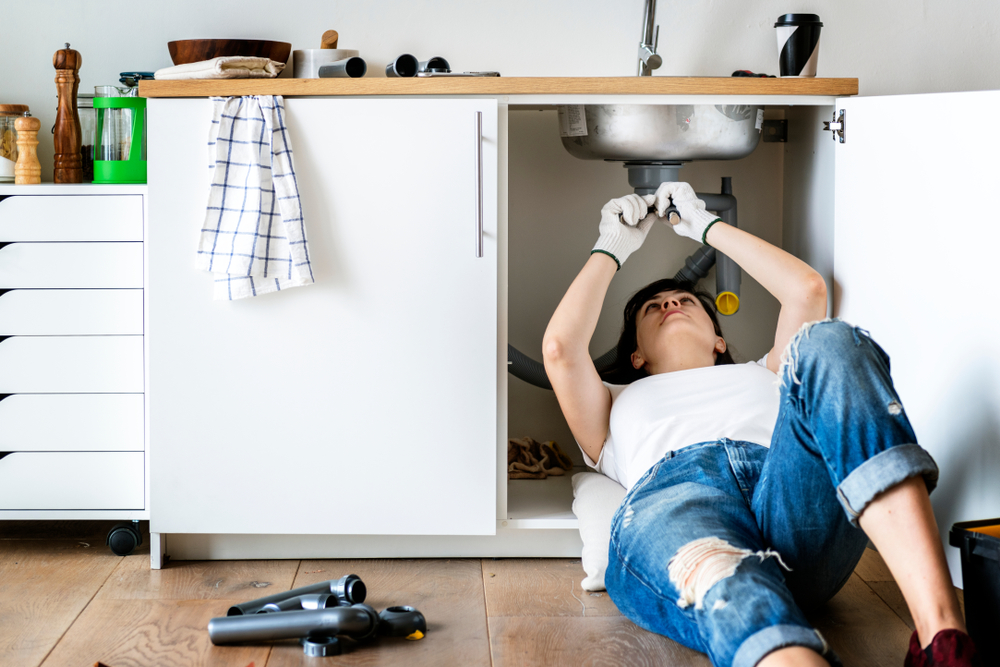
1. Visual Inspection
Start with a thorough visual inspection of your plumbing system. Check the following areas:
- Under Sinks: Look for puddles, corrosion, or dampness around the sink and pipes.
- Around Toilets: Inspect for signs of moisture or water stains at the base of the toilet.
- Basements and Crawl Spaces: Examine these areas for dampness, water pooling, or musty odors, as leaks often go unnoticed in hidden spaces.
2. Water Meter Test
You can perform a simple water meter test to check for leaks:
- Turn off all water sources. Make sure no taps, appliances, or sprinklers are running.
- Record the current meter reading. Take note of the number on the water meter.
- Wait for two hours. During this time, do not use any water.
- Check the meter again. If the reading has changed, you likely have a leak.
3. Dye Test
For toilet leaks, you can use a dye test:
- Add food coloring to the toilet tank. Use a bright color for better visibility.
- Wait about 30 minutes. Avoid flushing during this time.
- Check the toilet bowl. If the water in the bowl changes color, you have a leak that needs addressing.
4. Infrared Camera Inspection
Professional plumbers often use infrared cameras to detect leaks. This technology helps identify temperature differences in walls and ceilings. These variations can indicate the presence of moisture behind surfaces, allowing for targeted repairs.
5. Acoustic Leak Detection
Acoustic leak detection involves using specialized equipment to listen for leaks. This method is effective for locating leaks in hidden pipes, as the sound of escaping water can be detected through walls or floors.
6. Moisture Meters
Moisture meters are handheld devices that measure the moisture content in various materials. They can help you identify damp areas that may indicate a hidden leak.
Repairing Plumbing Leaks
Once you’ve identified a leak, the next step is repair. The repair method will depend on the leak’s location and severity. Here are several approaches to consider:
1. Repairing Faucet Leaks
Faucet leaks are common and relatively easy to fix. Here’s a step-by-step guide to help you:
- Turn off the water supply. Locate the shut-off valve under the sink.
- Disassemble the faucet. Remove the handle and other components to access the internal parts.
- Inspect washers and O-rings. Look for signs of wear or damage. These components often wear out over time, causing leaks.
- Replace damaged parts. Install new washers or O-rings as needed. Ensure you choose the correct size for a proper fit.
- Reassemble the faucet. Put all parts back together in reverse order, ensuring everything is tightened securely.
- Turn the water supply back on. Check for leaks by running the faucet and observing for any drips.
2. Fixing Toilet Leaks
Toilet leaks can occur at the tank or the base. Here’s how to repair them:
Tank Leaks:
- Shut off the water supply. Locate the valve behind the toilet.
- Remove the tank lid. Carefully set it aside to prevent damage.
- Check the flapper for wear. The flapper is a rubber component that seals the tank. If it’s worn or misaligned, it may cause leaks.
- Replace the flapper if needed. This often resolves the issue. Follow the manufacturer’s instructions for proper installation.
- Reassemble the tank and turn on the water. After reattaching the lid, check for leaks by flushing the toilet.
Base Leaks:
- Check the wax seal. If you notice water pooling around the base of the toilet, the wax seal may be compromised.
- Remove the toilet. Disconnect the water supply and unbolt the toilet from the floor.
- Replace the wax seal. Install a new wax ring on the toilet flange before reattaching the toilet.
- Reconnect the water supply and check for leaks. Ensure all connections are secure before testing.
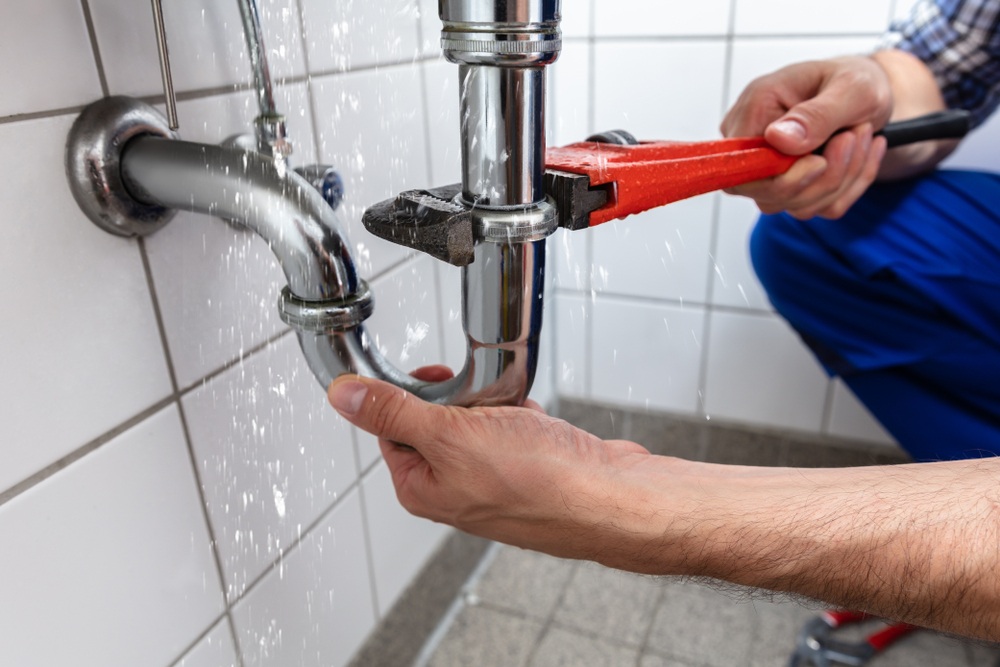
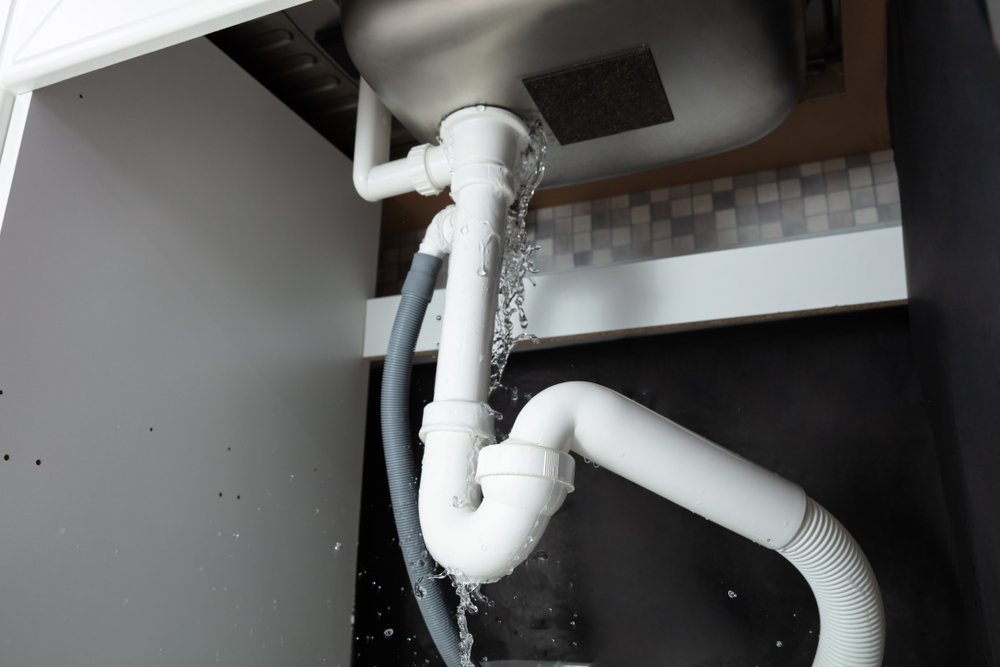
3. Patching Pipe Leaks
For leaks in pipes, you can use several methods depending on the severity of the leak:
Minor Leaks:
- Pipe Tape: For a temporary fix, wrap plumber’s tape around the leak. This is suitable for small leaks but should not be a permanent solution.
- Epoxy Putty: Apply putty over the leak, allowing it to cure as per the instructions. This can provide a durable repair for minor leaks.
Major Leaks:
- Cut out the damaged section: Use a pipe cutter to remove the affected area, ensuring you have clean cuts for a proper fit.
- Install a new section: Use appropriate connectors to attach the new pipe. Make sure to choose the right material to match existing pipes.
- Solder or glue joints: Ensure all connections are secure to prevent future leaks. Follow manufacturer instructions for soldering or gluing.
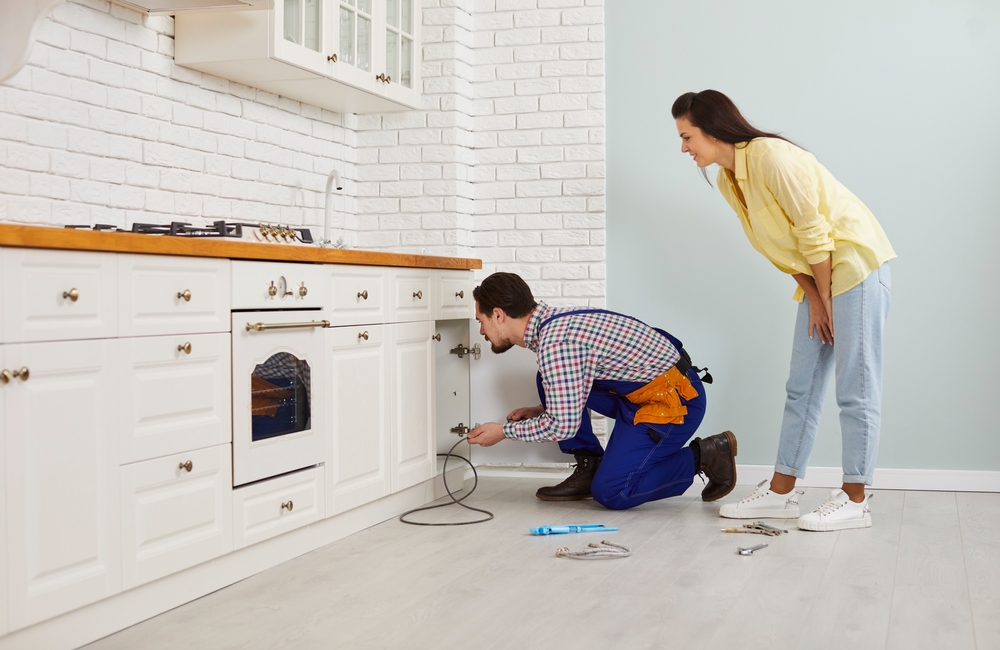
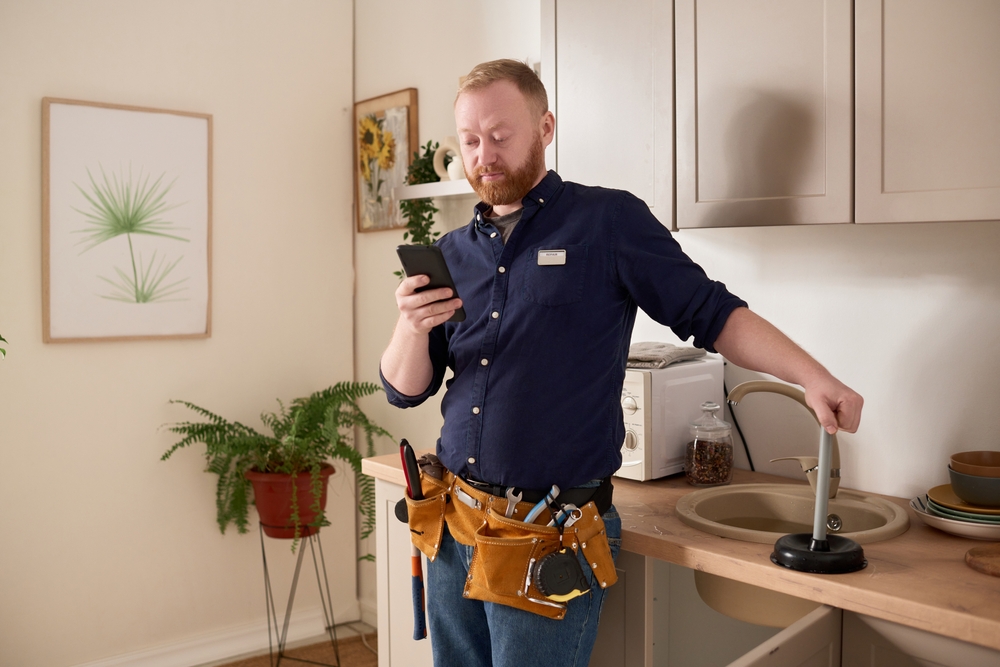
4. Professional Repairs
Some leaks require professional intervention. This includes:
- Major pipe bursts: If you have a significant leak, a professional plumber can help assess the situation and implement the best repair strategy.
- Hidden leaks: Leaks behind walls or underground often need specialized equipment to locate and repair. Professionals have access to advanced technology that can save you time and hassle.
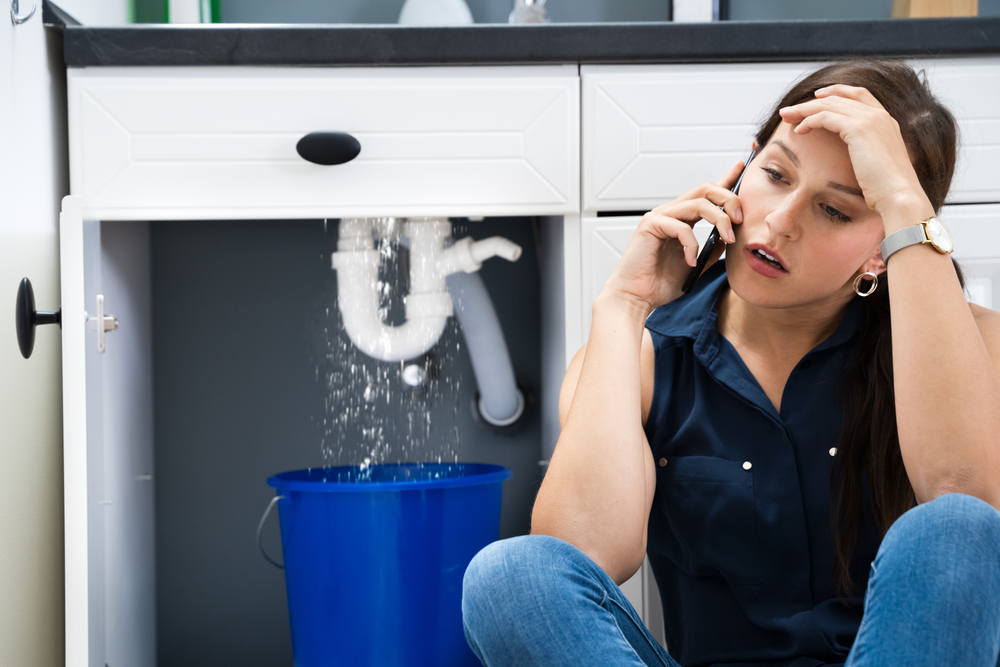
5. Emergency Measures
In case of a severe leak, it’s crucial to know how to react quickly:
- Shut off the main water supply. This will prevent further water damage until repairs can be made.
- Identify the source of the leak. If possible, pinpoint the exact location to inform a plumber.
- Remove any valuables. Protect personal belongings from water damage by moving them away from the affected area.
- Document the damage. Take photos for insurance purposes and to assist professionals in assessing the situation.
Preventing Plumbing Leaks
While leaks can happen, there are proactive steps you can take to minimize the risk of leaks. Here are some effective prevention tips:
1. Regular Inspections
Conduct regular inspections of your plumbing system. Check for:
- Signs of corrosion or wear on pipes
- Loose fittings that may need tightening
- Visible leaks around faucets and appliances
Regular inspections can help you catch potential issues before they escalate.
2. Monitor Water Pressure
Ensure your water pressure is within the recommended range (40-60 psi). High water pressure can strain your pipes, leading to leaks. You can purchase a water pressure gauge at hardware stores to monitor your home’s pressure. If you find it exceeds 60 psi, consider installing a pressure-reducing valve.
3. Insulate Pipes
Insulate pipes to prevent them from freezing during cold weather. Use pipe insulation sleeves or heat tape to protect vulnerable areas, such as those in unheated spaces. This can prevent freezing and bursting during winter months.
4. Know Your Plumbing System
Familiarize yourself with your home’s plumbing system. Knowing where shut-off valves are located can help you act quickly in case of a leak. Keep a map of your plumbing system handy, noting key components and shut-off locations.
5. Keep an Eye on Water Bills
Monitor your water bills for any sudden increases. This can help you catch leaks early before they become major issues. If you notice an unexplained increase, investigate potential leaks immediately.
6. Avoid Chemical Drain Cleaners
Chemical drain cleaners can damage pipes over time, leading to leaks. Instead, consider using a mixture of baking soda and vinegar to clear minor clogs. For persistent issues, consult a professional plumber for drain cleaning to avoid causing further damage.
7. Maintain Appliances
Regularly inspect appliances that use water, such as washing machines and dishwashers. Check hoses for signs of wear and tear, and replace them as needed. Additionally, ensure that appliances are leveled properly to prevent water pooling.
8. Be Cautious with Landscaping
When landscaping, avoid planting trees and shrubs too close to your plumbing lines. Roots can infiltrate underground pipes, causing damage. Consult with a landscaping professional if you’re unsure about safe planting distances.
9. Address Cracks and Gaps
Inspect your home’s foundation and exterior for cracks or gaps that could allow moisture infiltration. Seal these areas with appropriate caulk or sealant to prevent leaks from external sources.
Conclusion
Plumbing leaks can cause significant damage if left untreated. However, with proper detection and repair techniques, you can address leaks effectively and maintain the integrity of your plumbing system. Regular maintenance and monitoring will help prevent leaks in the first place, saving you money and protecting your home from water damage.
Should you encounter a major leak, don’t hesitate to contact a professional plumber. They have the expertise and tools to handle complex plumbing issues and can often resolve problems more quickly than DIY efforts. Remember, timely action can save you money and protect your home from extensive damage.
If you suspect a leak, take immediate action. Start with visual inspections and simple tests to identify potential issues. By being proactive, you can safeguard your home and your finances. Your plumbing system is an essential part of your home, and caring for it is crucial for long-term health. Don’t wait for a minor leak to become a major headache—act now! Proper awareness, regular inspections, and timely repairing plumbing leaks can help ensure that your plumbing remains in good working condition for years to come.
Plumbing Services CA
https://maps.app.goo.gl/31Yt4rhDrainzNJ4A
(279) 203-0765
https://plumbingservicesca.com/