Silent behind the scenes, your water heater makes sure you have hot water for daily purposes including laundry, dishwashing, showers, and other uses. To keep it running effectively, though, it needs routine maintenance—just as any other home equipment. Ignoring this essential maintenance can cause a domino effect of problems ranging from little annoyances like uneven water temperature to major difficulties like total system failure, necessitating expensive repairs or perhaps a complete replacement.
This extensive tutorial will lead you through all you need to know about keeping your water heater running. Acting early will help you to prolong the life of your water heater, raise its efficiency, and prevent unplanned malfunctions. This article is meant to help you keep your water heater in great shape, regardless of your level of experience with do-it-yourself projects or your desire to take charge of house maintenance.
The Importance of Water Heater Maintenance
Out of all the appliances in your house, the water heater is quite important. For bathing, cleaning, cooking, and other daily uses it offers hot water. Its vital importance means that it should run consistently and effectively. Achieving this depends much on routine maintenance.
Keeping your water heater maintained helps avoid problems that can cause either full malfunctions or inefficiencies. Water heaters can eventually gather sediment at the bottom of the tank, which would lower the unit’s effectiveness and damage the heating elements. Additionally prone to leaks, a neglected water heater could cause water damage and expensive repairs.
Regular maintenance of your water heater can help you to identify possible issues early on and take care of them before they become more serious. This not only increases the lifetime of your water heater but also helps you cut repair costs and energy bills. Basically, consistent maintenance is an investment in the lifetime and effectiveness of your water heater.
Step-by-Step Guide for DIY Water Heater Maintenance
Regular maintenance on your water heater will help you avoid many typical issues and increase the lifetime of your machine. This detailed tutorial will enable you to keep your water heater running:
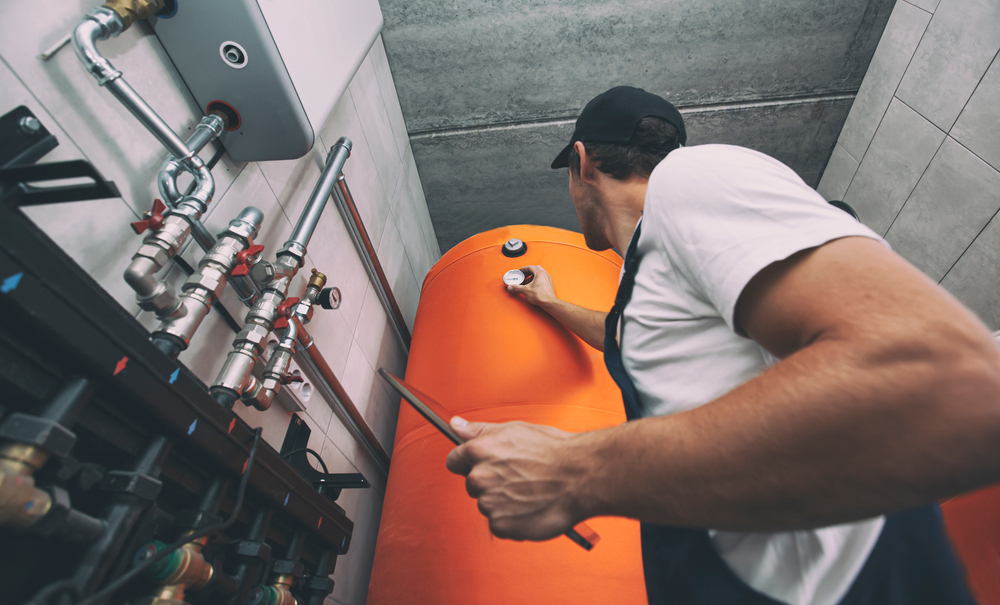
Inspect the Tank and Its Components
Starting your maintenance schedule, look over the water heater and its parts. Search for any obvious wear and tear, like leaks around the tank or rust and corrosion. Give the following particular focus:
- Anode Rod: One of the most important parts stopping tank corrosion inside. It gives up itself to guard the tank by drawing corrosive elements in the water. Turn off the water heater, unscrew the anode rod, then examine it. It’s time to replace a rod if it is less than half an inch thick or severely rusted.
- Temperature and Pressure Relief Valve: A safety mechanism called the temperature and pressure (T&P) relief valve releases water should the pressure or temperature within the tank rise too high. Lift the lever to test it; let it snap back. Should water emerge from the discharge pipe, the valve is in good operation. Otherwise, it must be replaced.
- Thermostat: Check the thermostat to be sure it is set to the advised temperature—usually about 120°F (49°C). This environment lowers energy demand and helps avoid scorching.
Flush the Tank
Sediment can build up at the bottom of the water heater tank over time, therefore lowering its effectiveness and maybe causing damage. Flushing the tank maintains the machine working normally and helps clear this silt.
Here’s how you cleanse your water heater:
- Turn Off the Water Heater: Turn off the water heater for electric models by cutting the electricity at the circuit breaker. Set the thermostat on a gas water heater to the “pilot” level.
- Connect a Garden Hose to the Drain Valve: Attach a garden hose to the drain valve, which sits at the bottom of the tank. Arrange the other end of the hose in an appropriate drainage area—a floor drain or a big bucket, perhaps.
- Open the Drain Valve: Once the tank is empty, turn on the cold water supply to flush any last bits of silt. Allow the water to run till it comes clear.
- Flush the Tank: Once the tank is empty, turn on the cold water supply to flush out any remaining sediment. Let the water run until it flows clear.
- Close the Drain Valve and Refill the Tank: Following flushing, close the drain valve, remove the hose, and turn on the cold water supply to fill the tank. Flip the power back on or reset the gas thermostat once the tank is full.
Check for Leaks
Common problems with water heaters are leaks, which should be taken quick care of to prevent water damage. Look around the water heater and at the connections to the water supply lines to find leaks. Give the following particular attention:
- Pressure Relief Valve: Should the T&P valve leak, it could be a sign of a malfunctioning valve or of too high tank pressure. If called for, think about changing the valve.
- Drain Valve: Make sure the drain valve, following tank flushing, is tightly closed. Should leaks arise, you might have to change the valve.
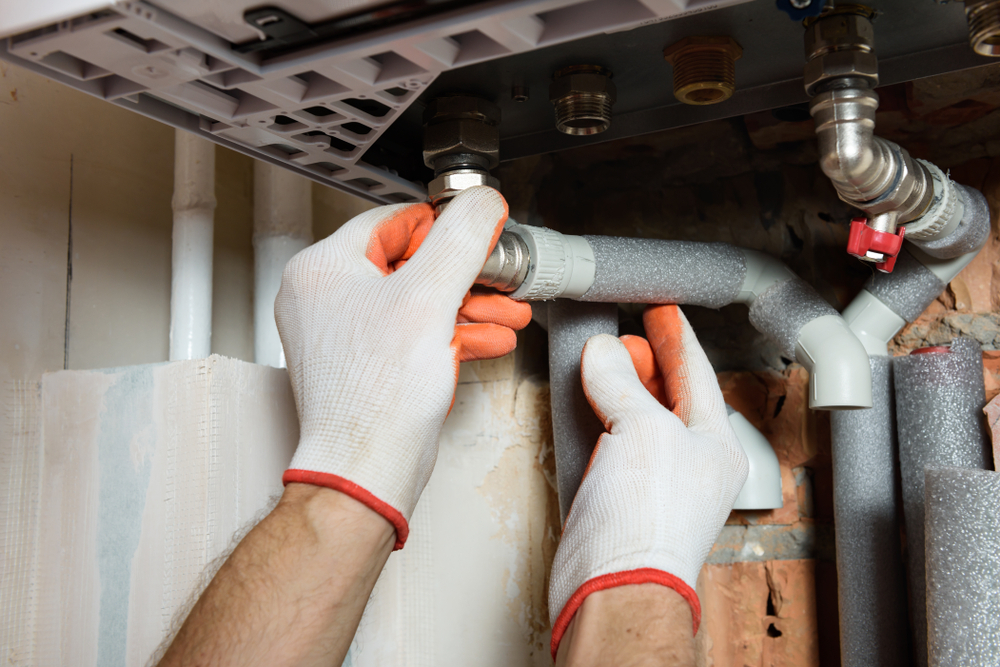
- Connections and Fittings: Examining the connections to the water supply lines will help you find any leaks there. Use a wrench to tight any loose fittings.
Should you discover a leak and unable to address it with basic tightening or valve replacement, it could point to a more major problem needing expert advice.
Inspect and Clean the Burner Assembly (Gas Water Heaters)
Examining and, if necessary cleaning the burner assembly is crucial for gas water heaters. A filthy or clogged burner can impair the efficiency of the water heater and force the unit to work harder than necessary.
To clean the burner assembly:
- Turn Off the Gas Supply: Turn off the gas supply to the water heater and let the unit to cool down fully.
- Remove the Access Panel: Remove the access panel to reveal the burner assembly.
- Inspect the Burner: Check the burner for any evidence of corrosion, debris, or soot. If the burner is unclean, use a soft brush or vacuum cleaner to remove the debris.
- Clean the Pilot Light: If the pilot light is dusty, clean it with a soft brush to guarantee a steady flame.
- Reassemble and Test: Reassemble the burner assembly, turn the gas supply back on, and test the water heater to check it’s running properly.
Check the Exhaust Vent (Gas Water Heaters)
The exhaust vent is responsible for moving dangerous gasses, such as carbon monoxide, out of your property. It’s crucial to inspect the vent often to ensure it’s not obstructed or damaged.
- Inspect the Vent Pipe: Check the vent pipe for any signs of rust, corrosion, or clogs. Make sure the pipe is securely secured and properly positioned.
- Check for Obstructions: Ensure that the vent is clear of any obstacles, such as bird nests or debris, that could inhibit adequate ventilation.
- Test the Draft: Lighting a match, hold it close to the vent. Drawing the flame toward the vent will signal if the draft is operating as expected.
Should you observe any problems with the exhaust vent, such a broken pipe or inadequate draft, you should take quick care to avoid carbon monoxide poisoning danger.
Tips for Troubleshooting Common Issues
Even with regular maintenance, water heaters can experience issues from time to time. Here are some common problems and how to troubleshoot them:
Low Water Pressure
Often brought on by silt accumulation in the tank or pipes, low water pressure can be aggravating.
- Flush the Tank: If sediment build-up is the cause, flushing the tank could assist to restore normal water pressure.
- Check the Inlet Valve: Verify the inlet valve to see if it is completely open. Should it be partially closed, pressure might be lowered and water flow restricted.
- Inspect the Pipes: Look over the hot water lines for any leaks or obstructions. Furthermore lowering water pressure is a partially blocked pipe.
Strange Noises
Sediment build-up in the tank is most likely the cause of unusual noises your water heater produces—such as popping or rumbling.
- Flush the Tank: Clearing the tank will assist to eliminate the silt generating the noise.
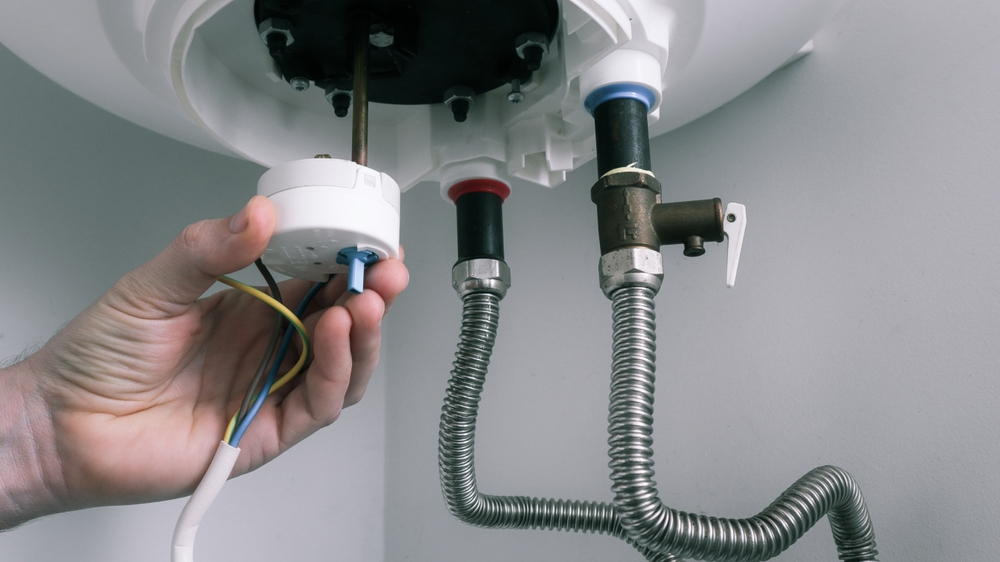
- Check the Heating Elements: For electric water heaters, look for any wear or damage on the heating elements. One can lower efficiency and generate noise from a defective element.
- Inspect the Burner: For gas water heaters, look over the burner assembly for any evidence of dirt or trash. Burning cleaner could help to lower noise levels.
Rusty Water
Often a symptom of corrosion inside the tank or the pipes is rusty or discolored water.
- Check the Anode Rod: Verify the anode rod. Rusty water results from a worn-out anode rod unable of shielding the tank from corrosion. Changing the anode rod might assist to fix the problem.
- Flush the Tank: Flushing the tank can help to eliminate any rust particles and enhance the water quality.
- Inspect the Pipes: If the issue continues, check the pipes; if needed, they should be replaced since they can be corroded.
Frequency of Maintenance
Maintaining effective operation of your water heater and avoiding problems depend on regular maintenance. Several elements affect the frequency of maintenance: the age of the heater, the kind of water in your area, and unit use frequency.
Annual Maintenance
You should, at least, once a year do a complete maintenance check on your water heater. This covers looking over the tank and its parts, flushing it, looking for leaks, and T&P valve testing.
Semi-Annual Maintenance
Every six months maintenance is a smart idea in hard water situations. High mineral content in hard water can hasten sediment build-up and lower water heater efficiency. More often flushing the tank helps avoid these problems.
Monthly Inspections
Apart from yearly or semi-annual maintenance, you should also check your water heater quickly every month. Look for any indications of leaks, corrosion, or other possibly problematic conditions that call for repair.
The Importance of Safety
Safety should always come first even if do-it-yourself maintenance can save you money and enable you to take charge of the upkeep of your house. Always use these safety measures since improperly handled water heaters might be hazardous:
- Turn Off the Power Supply: Before starting any repairs, cut off the water heater’s power supply. Shut off the circuit breaker for electric water heaters. Set the thermostat for gas water heaters to “pilot.”
- Use Protective Gear: Wear gloves and safety eyewear to shield yourself from other hazards such hot water and trash.
- Allow the Water Heater to Cool: Turn off the power source then let the water heater cool before doing any repairs. Steam and hot water can burn really seriously.
- Follow Manufacturer Instructions: Maintaining and servicing your water heater always depends on following manufacturer recommendations. See a professional or refer to the user manual if you are unsure about any one step.
Benefits of DIY Maintenance
Maintaining your water heater yourself has several advantages: cost savings, convenience, and the satisfaction of keeping your house in order.
Cost-Effective
DIY maintenance done cost-effectively is far less than paying a professional. Regular maintenance including flushing the tank, anode rod inspection, and leak detection helps you to extend the life of your water heater and reduce repair costs.
Convenience
Maintaining your own schedule lets you take quick care of problems instead of waiting for an expert. Your maintenance schedule can also be customized to fit your particular needs and preferences.
Satisfaction
Maintaining your house and making sure your appliances are in good operating order makes one satisfied. Maintaining your water heater yourself helps you to better grasp its operation and how to keep it working efficiently.
When to Call a Professional
Although do-it-yourself maintenance is a terrific way to maintain your water heater in good shape, occasionally it’s best to consult a professional. The following scenarios call for professional assistance:
Complex Repairs
Hiring a professional is advised if your water heater calls for complicated repairs including replacement of the heating elements, gas valves, or other internal components. Trying these repairs without the right tools and skills could be risky and damage the unit worse.
Gas Leaks
Turn off the gas supply right away and phone your gas company or a qualified plumber if you suspect a leak. Highly dangerous, gas leaks should be handled by qualified experts.
Major Leaks
You should see a professional if your water heater leaks noticeably and you cannot fix it with basic tightening or valve replacement. Large leaks can impair water supplies and point to a major unit breakdown.
Electrical Issues
See a skilled electrician if you have electrical problems with your water heater, including frequent circuit breaker tripping or absence of unit power. Dealing with electrical components without appropriate knowledge could be dangerous.
Conclusion
Maintaining effective operation of your unit and avoiding expensive repairs depend on regular water heater maintenance in your area. Following the advice in this book will help you to take charge of the maintenance of your water heater and enjoy the advantages of a well-kept device.
Cost savings, ease, and the gratification of caring for your house abound from do-it-yourself maintenance. But it’s crucial to know when, particularly for difficult repairs or safety issues, it’s time to consult a professional.
Recall that a well-kept water heater not only offers consistent hot water but also increases unit lifetime and lowers energy use. Thus, include water heater maintenance in your daily home maintenance schedule and savor the peace of mind resulting from knowing your water heater is in perfect condition. Happy keepers!
Plumbing Services CA
https://maps.app.goo.gl/31Yt4rhDrainzNJ4A
(279) 203-0765
https://plumbingservicesca.com/